Step-by-Step Guide: How to Create a PayPal Account for Easy Online Transactions
Introduction:
Creating a PayPal account is a simple and secure way to manage online transactions. Whether you're an avid online shopper, a freelancer receiving payments, or a small business owner, PayPal offers a convenient and reliable platform for sending and receiving money. In this step-by-step guide, we'll walk you through the process of creating a PayPal account, ensuring a seamless experience for your online financial activities.
Step 1: Visit the PayPal Website

To begin, open your web browser and navigate to the official PayPal website at www.paypal.com. Make sure you are on the correct site to avoid scams or fraudulent attempts.
Step 2: Click on "Sign Up" or "Get Started"
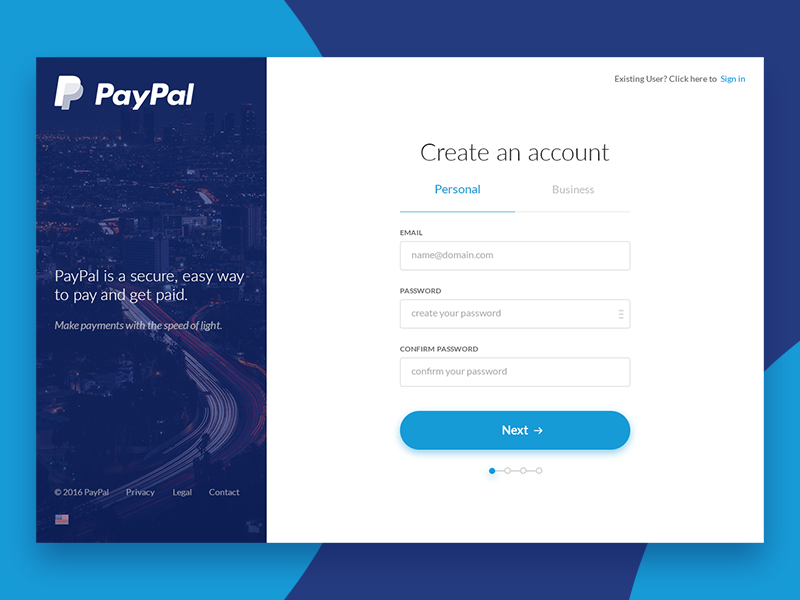
On the PayPal homepage, locate the "Sign Up" or "Get Started" button, usually positioned at the top-right corner. Click on it to initiate the account creation process.
Step 3: Select the Account Type
PayPal offers two primary types of accounts: Personal and Business. Choose the option that best suits your needs.
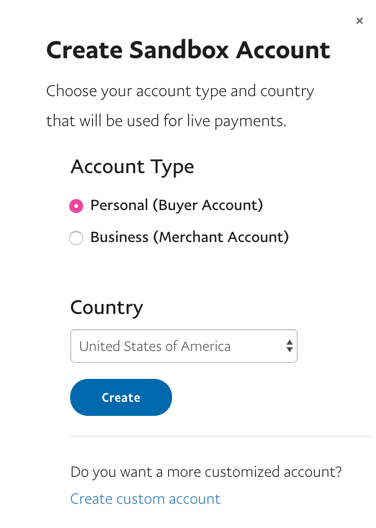
- Personal Account: Ideal for individuals who want to shop online, send money to friends and family, or make personal transactions.
- Business Account: Recommended for merchants, freelancers, or small business owners who wish to accept online payments and enjoy additional features like invoicing and custom checkout options.
Step 4: Provide your Email Address
Enter your email address in the designated field. Ensure that the email you provide is active and accessible as PayPal will use it for account notifications and communication.
Step 5: Create a Strong Password
Choose a strong and unique password for your PayPal account. It should contain a combination of letters, numbers, and special characters to enhance security. Avoid using easily guessable information such as birthdays or names.

Step 6: Fill in Personal Information
PayPal requires certain personal details to set up your account. Fill in the required information accurately, including your legal first and last name, address, and phone number. Ensure the information matches your official identification documents.
Step 7: Link a Bank Account or Credit Card (Optional)
Linking a bank account or credit card allows you to transfer funds to and from your PayPal account. It also enables seamless online shopping without the need to manually enter your payment information each time. While this step is optional, it enhances the functionality of your PayPal account.
Step 8: Confirm Email Address
After providing your personal information, PayPal will send a confirmation email to the address you provided. Open your email inbox and click on the verification link within the email to confirm your email address. This step is crucial to activate your PayPal account fully.
Step 9: Secure Your Account
To enhance the security of your PayPal account, enable two-factor authentication (2FA). This adds an extra layer of protection by requiring a unique verification code, usually sent to your mobile device, whenever you log in.
Step 10: Explore PayPal Features and Settings
Congratulations! You've successfully created your PayPal account. Take some time to explore the various features and settings available. Familiarize yourself with functions such as sending money, requesting payments, managing your linked bank accounts or credit cards, and customizing your account preferences.
Conclusion:
Creating a PayPal account is a straightforward process that allows you to enjoy seamless online transactions and payment management. By following this step-by-step guide, you can confidently set up your PayPal account, ensuring a secure and convenient experience for all your online financial activities. Remember to keep your account information confidential and regularly monitor your transactions for any suspicious activity.


0 Comments